Showing posts with label tutorials. Show all posts

Saturday, December 17, 2011

52 in 1: WEEK 30 - more Christmas trees


Neither of these ideas are original, I'm sure, but I wanted to do something Christmas tree-ish with the two remaining styrofoam cones I had.  Here are some mini-tutes for what I came up with in pictures and just a few words:


twine tree materials:


Yay.  Tedious but kind of fun to glue and wrap.


My little helper/gluestick thief in her pink tutu.


paper tree materials:


Cut 2" strips of paper, then make slits in the strips.


Ran out of the blue paper, but I thought the other paper looked kind of like a tree topper.


Pretty little tree cluster (including the ball ornament tree) on our tabletop.


Now if only I could finish my Christmas shopping...

Tuesday, November 29, 2011

52 in 1: WEEK 28 - ball ornament Christmas tree


A few weeks ago, I saw these in Target:


And, of course, I was instantly determined to make my own version. 


Materials:
-styrofoam cone base things (got mine at Joanns)
-Christmas bulb ornaments (got mine in the dollar bin at Target and on sale at Joannns)
-hot glue gun and glue


Pull off all the metal top things (I'm so technical).


With your glue gun, make a circle of glue on one of the cones.  Press the ornament into the center of the glue circle, puncturing the styrofoam with the raw top of the bulb and securing the bulb to the cone.


Repeat.  Over and over and over.  And over.


I dug out some old, bigger ornaments that I had decided not to decorate with this year and used them to fill in some of the big gaps.


Hiiii!


This tree took longer to make than I had anticipated.  It also didn't turn out exactly as I had envisioned, but I still think it's pretty and interesting to look at.  However, I was totally expecting to be able to complete three trees with the bulbs I bought.  They barely covered the one tree... oops.  Lesson learned: just buy (gasp) the premade tree.  I'm sure they have gone on sale by now, and it definitely cost at least as much as one sold in the store to make.  Plus, it wouldn't take two hours (resulting in a mediocre project) to just go to Target and buy a stinkin ornament tree.  Now, what to do with the remaining styrofoam cones... hmmmm....


Friday, November 18, 2011

52 in 1: WEEK 26 - feather earrings -- Anthro knockoff


Ohhh I am so excited to share these earrings!  I've been wanting/wanting to make feather earrings for quite awhile now.  I was browsing through the accessories on Anthropologie's site and found these:


LOVE THEM!  The $38 price tag wasn't totally horrific, but I immediately thought about how I could SO make a knockoff version for cheaper!  I ended up spending about $21 on materials at Michaels, but that was without anything being on sale and saving only $2 with a coupon.  Boo on them for only accepting one coupon per customer, per day.  One reason why I love Joann's... they take as many coupons as you can get, as long as the coupons are all different (having different codes or whatever).  Anyway, I did spend $21, BUT I now have enough supplies to make like 20 pairs of these earrings (I'd have to get more beads, though) so I think it's a pretty good deal. :)


Materials:
- pretty feathers (I would have got bigger/stronger ones than the ones I got, live and learn)
- 4mm beads
- 6mm beads (or whatever size tickles your fancy)
- jump rings (notice my neverending supply in my pill-box storage)
- earrings (ear wires)
- closures
- thin chain
- a few headpins
- jewelry tools


1. Choose 2 feathers that are closest in appearance.  I even trimmed one of mine to mimic the shape of the other one.  Don't stress about the feathers having to look identical, I think the minor differences highlight the beauty of the handmade.


2. Pick out 2 identical closures (my pack was an assortment of sizes).  Place the closure on the base of the feather and pinch the closure closed (ha) with flat-nosed pliers.


3. Pick out 3-4 of the smaller beads (however many you like, actually).  Bend the end of the headpin into a circle with round-nosed pliers.  String the beads on the wire.  Cut the headpin wire down and finish off the end with another circle using the round-nosed pliers.


4. Measure and cut the chain to whatever length you like.  As you can see, I cut my chain to about 1.5" and 1".


5. With a small jump ring, attach the round headpin circle to the closure holding the feather.  With another small jump ring, attach the earring to the other rounded end of the headpin.  Sounds kinda complicated, but you're just connecting the pieces here.  No biggie.


6. String one of the larger beads on a headpin.  Trim the headpin down and make a loop with the remaining wire with round nosed pliers.  Before closing off the loop, thread the wire through the end link of one of the pieces of chain.  Close off the loop.


7. Attach a jump ring to the other end of the chain.  Repeat step 6 for the other piece of chain, and then attach the chains to the closure with another jump ring.


Then, repeat steps 2-7 to make another earring.


That's it!


Can't forget a silly mirror picture.  Ahh, well.  Wouldn't these earrings make lovely Christmas presents?

Please let me know if you try these... I'd love to see!


Happy Friday!


Visit thecsiproject.com

Wednesday, October 12, 2011

simple lace cuffs

I shared a little tutorial a few weeks ago on how to make some easy lace cuffs. In case you missed it, here it is!


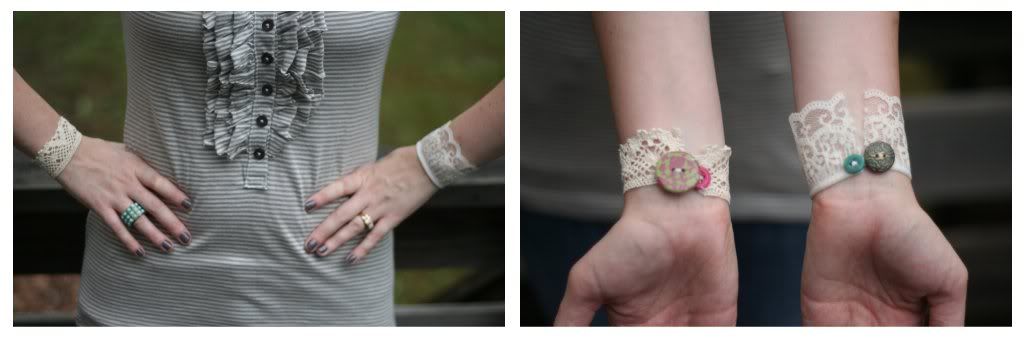
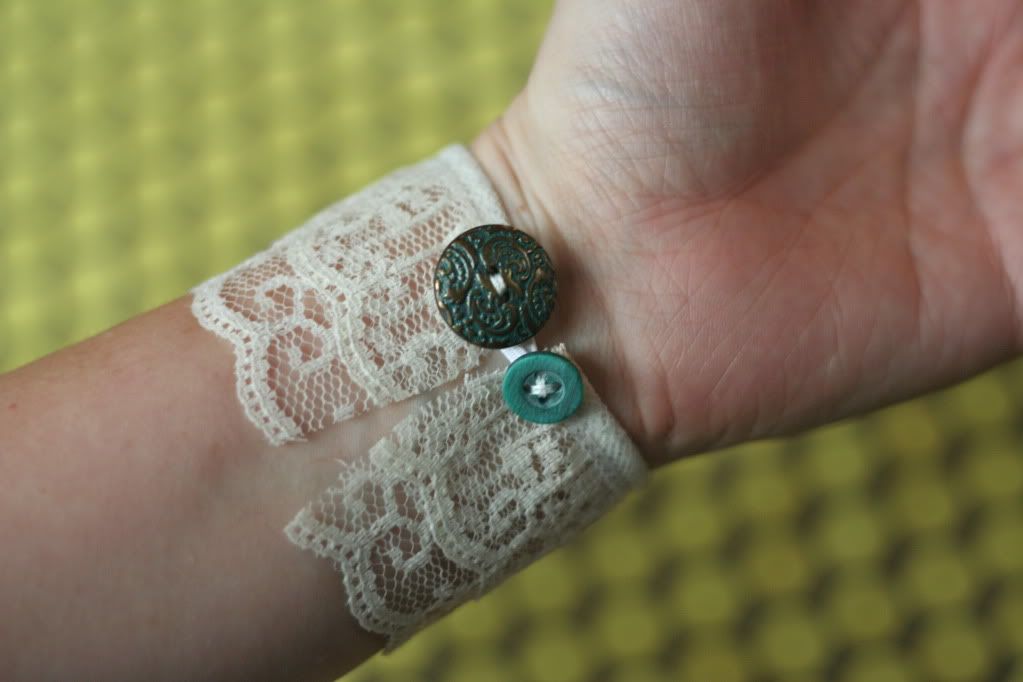
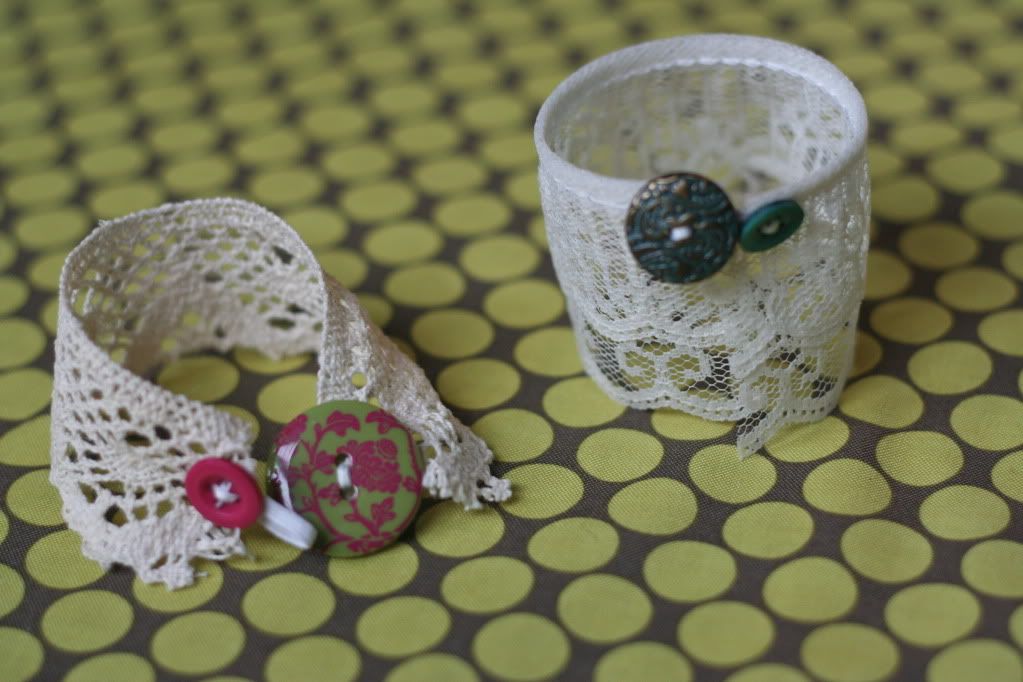
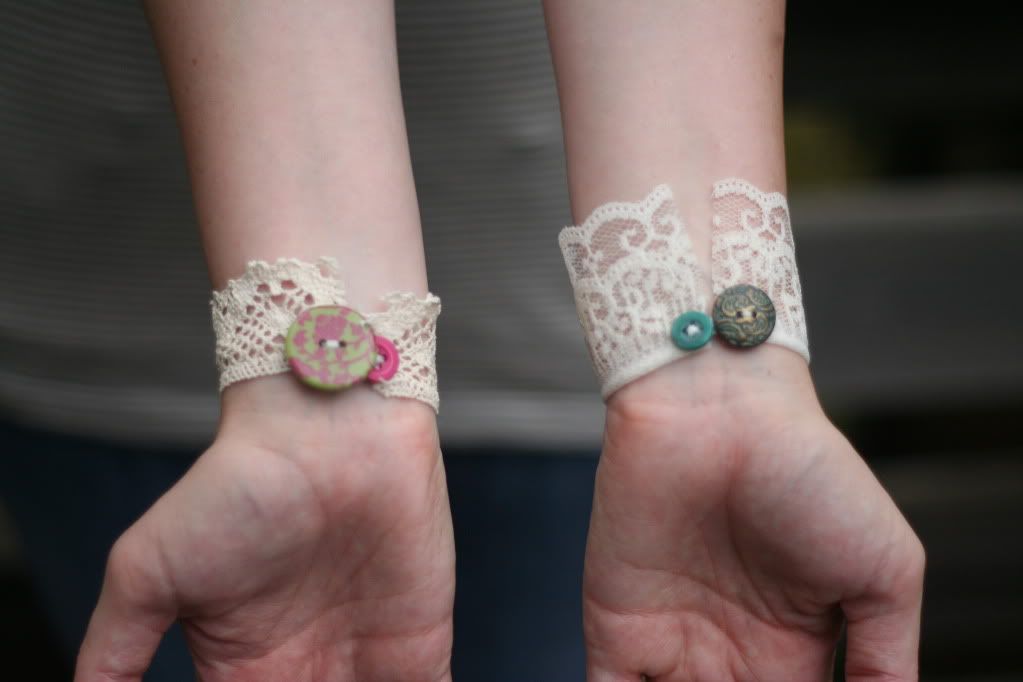
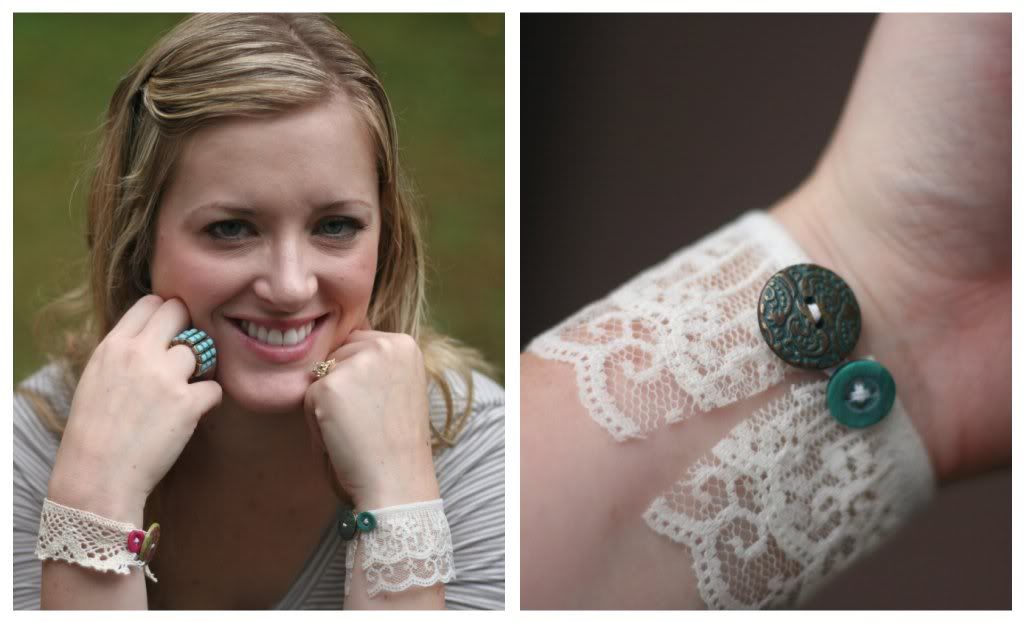
Today, I'd love to show you how I made these cute, kinda Anthro-ish lace cuff bracelets!


Let's get started!

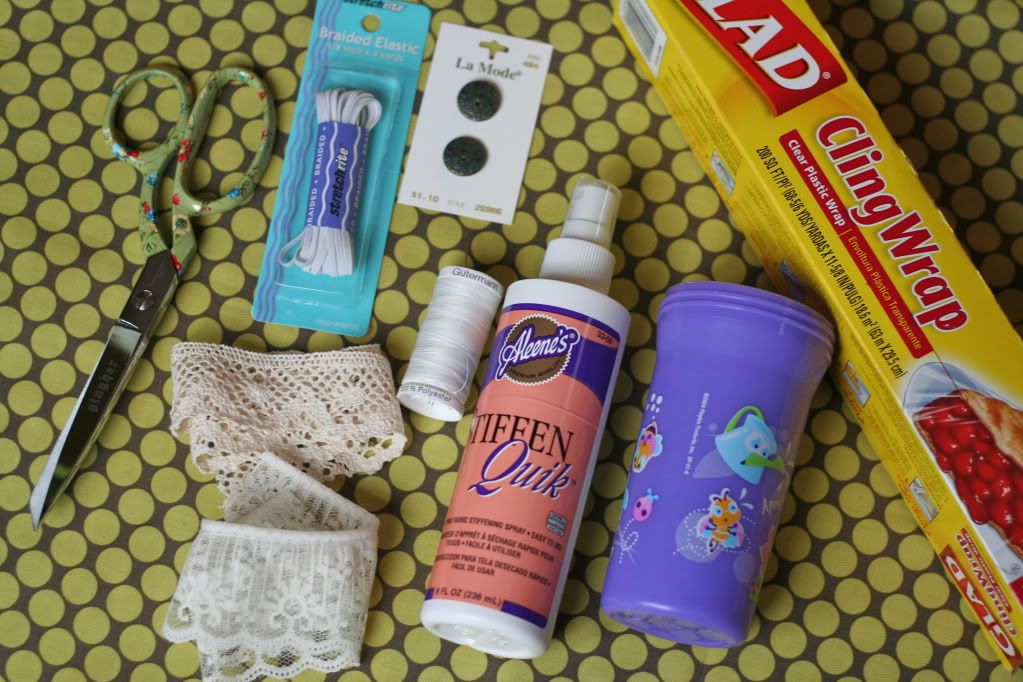
Materials:
-one or more piece(s) of lace or crochet-look lace (you don't need much, only enough to wrap around your wrist)
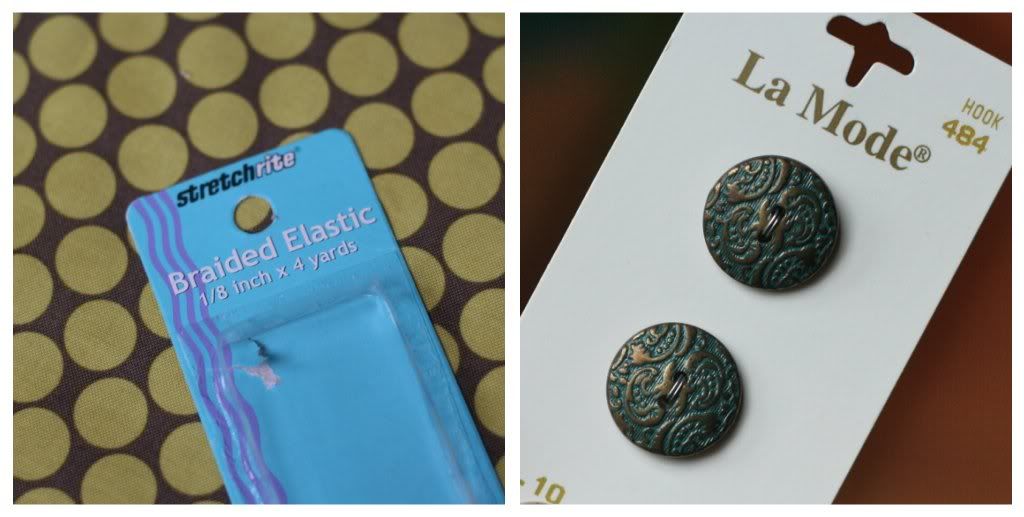
-1/8' braided elastic
-buttons
-plastic wrap
-cup or other small cylinder
-fabric stiffener
-scissors
-needle & thread (coordinating color with your buttons, if desired)
-optional- Fray Check (even though I didn't use it, and if you use enough fabric stiffener you definitely won't need it)


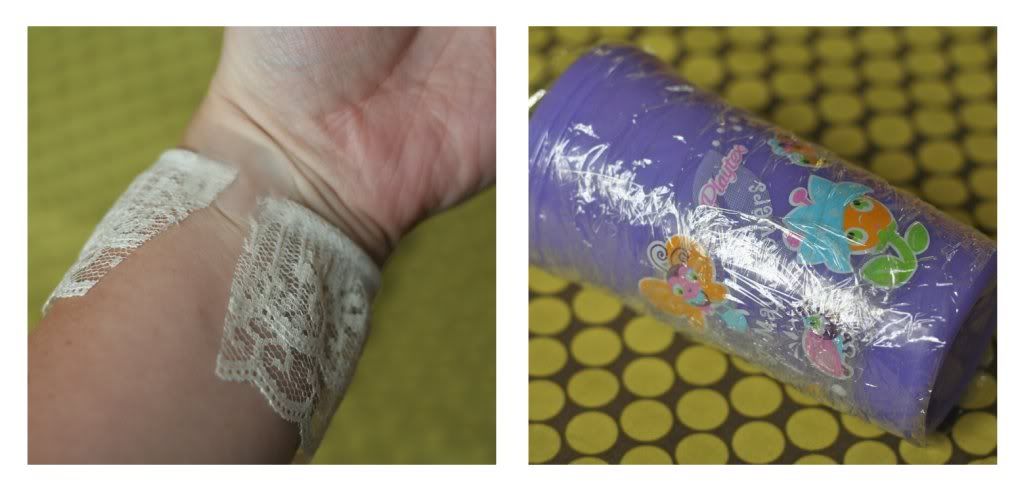
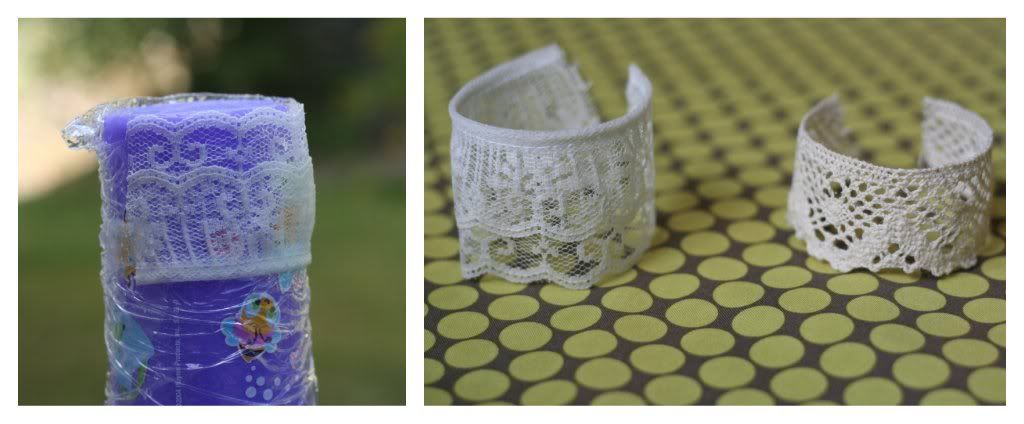
1. Wrap the lace around your wrist and cut to desired length.  I taped the lace on my wrist to see if I liked the length.  I ended up using about 6" for my wrist, but I've been told that my wrists are kind of small.  Wrap the cup (can you tell I have a 2 year old?!) in plastic wrap.

2. Wrap the lace around the cup and tape in place.


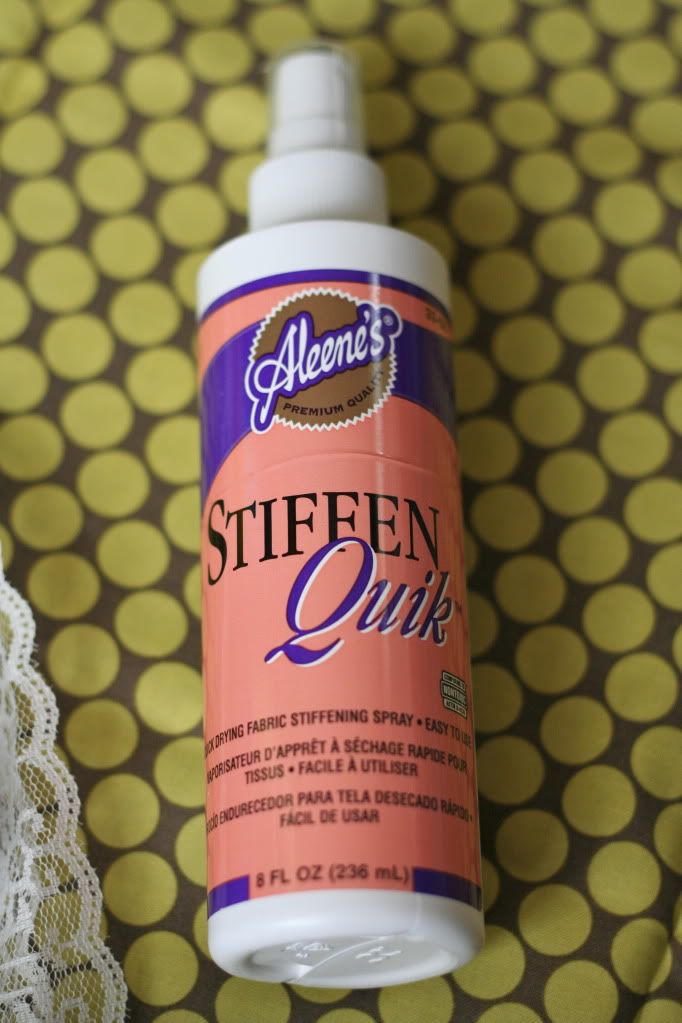
3. Arm yourself with the trusty miracle worker, A.K.A. the fabric stiffener.


4. Spray the heck out of that sucker!  I soaked the lace with the fabric stiffener (I did this step out on my deck; it might be a good idea to do this step outside) and came back a few times to re-spray.


5. Let the lace sit at least overnight or until completely dry.  Your lace piece(s) should now look like this.  If you so desire, run a thin line of Fray Check along the cut sides of the lace pieces.  However, I didn't do this and I'm pretty sure you'll be safe if you just use a ton of fabric stiffener.


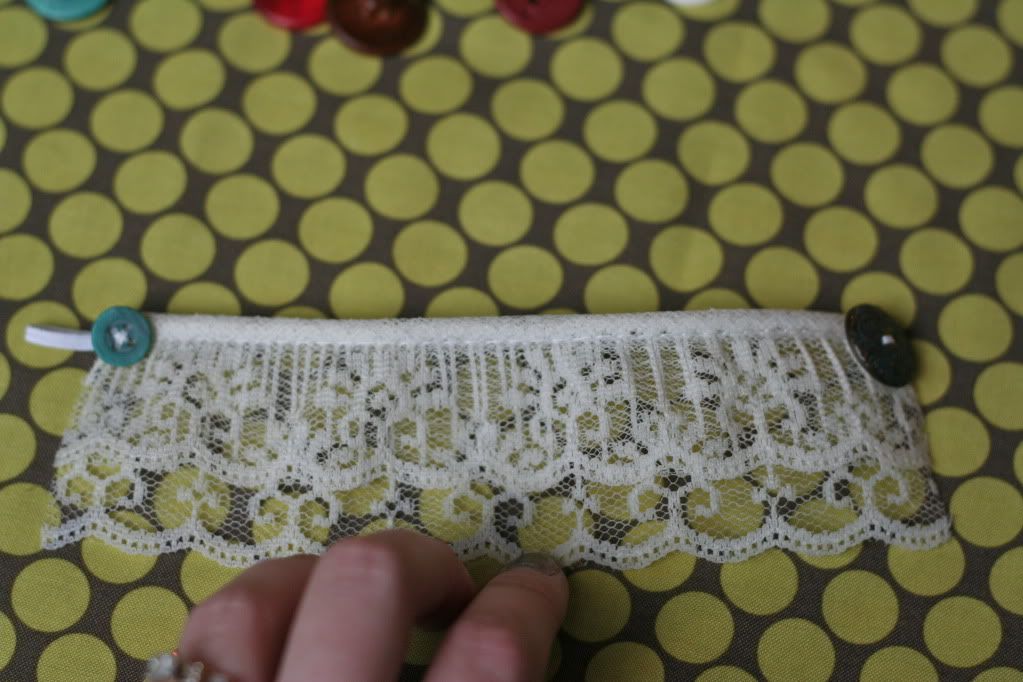
6. Now it's time for buttons and elastic.  Aren't those buttons pretty?  I thought they looked very vintage-y and for $1.10 for two, I was sold.


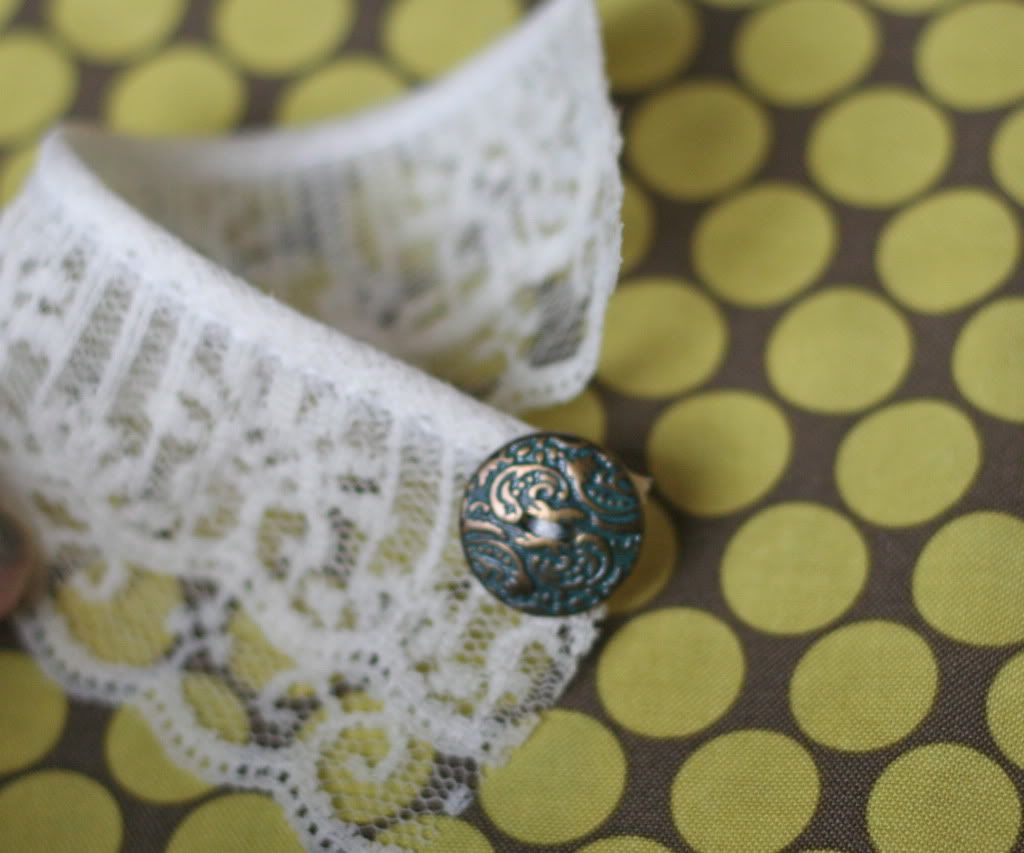
7. Stitch one button onto the end of the lace, making sure the button is sewn VERY securely to the lace.  See how coordinating thread might have been a good choice here?  Oh well.


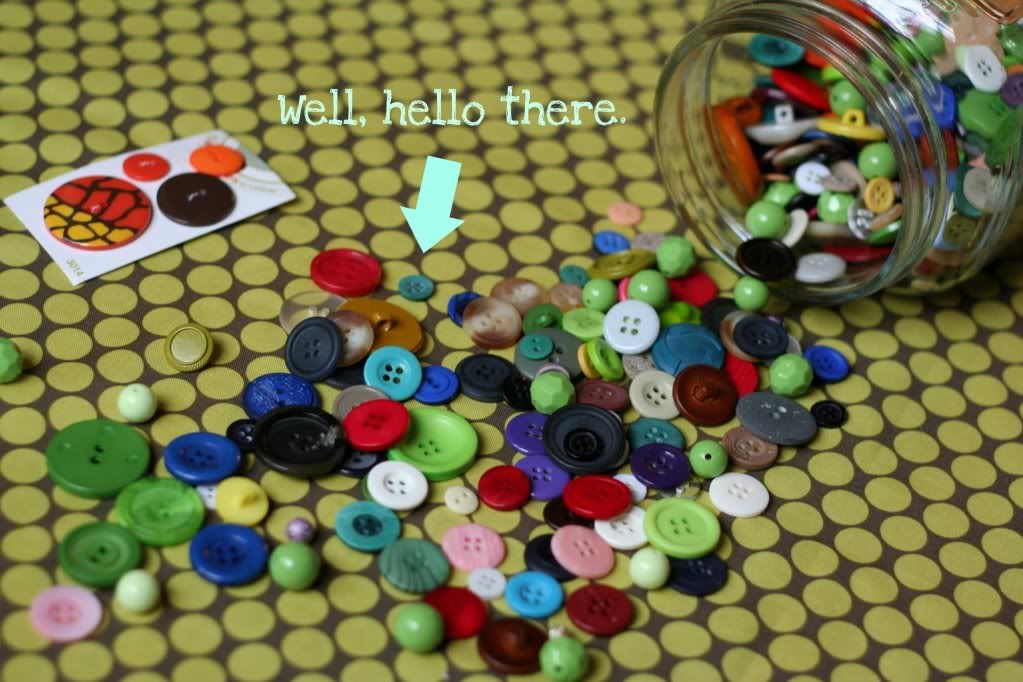
8. Now for a coordinating button!  Ahhh buttons.  Here's my collection.  I love hoarding collecting buttons, fabric, thread, paper... it's a problem, people.


Found the winner!


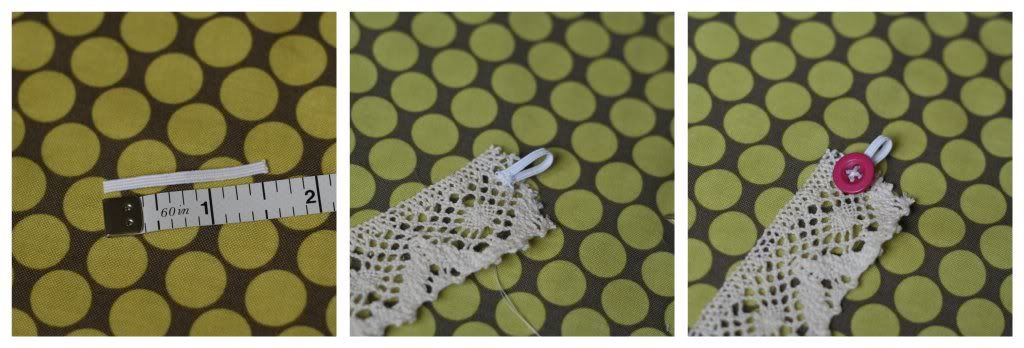
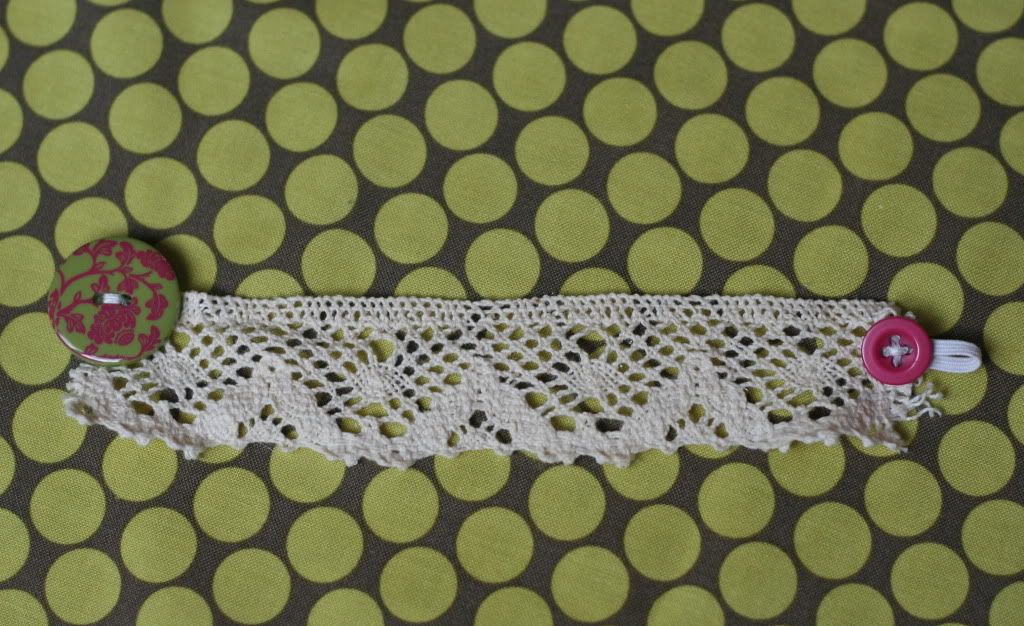
9. Attach a strip of elastic measuring about 1 1/2" to the other cut end of the lace and secure the coordinating button on top of it to conceal the raw elastic edges.  I tend to get a little over-zealous in carrying out my plans (which I make up as I go along) so sometimes I forget to take pictures of crucial steps.  This was one of those times.  But fear not, I made another lace cuff and I remembered the second time. :)


Here's the second bracelet:


Cute and easy, right?


I am in love with these lace cuffs!  I wore one a few weeks ago with a simple outfit and I felt like the bracelet just gave my look a little something extra and special.  And extra special. :)  Enjoy!


Linking up at I heart naptime, six sister's stuff, today's creative blog, kojo designs, and tatertots and jello