
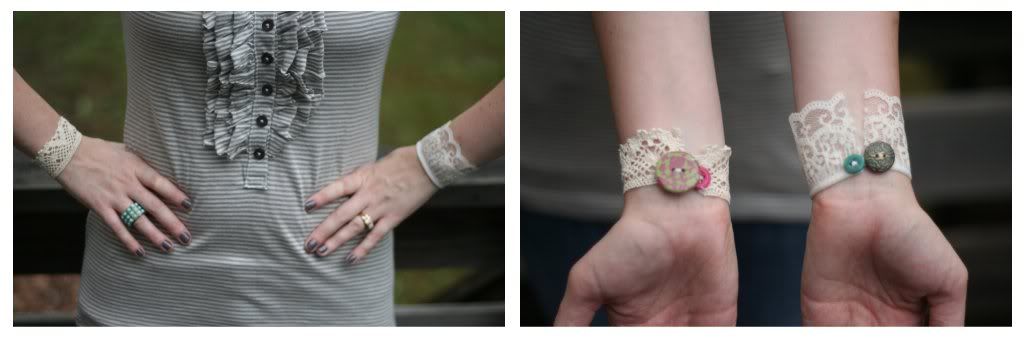
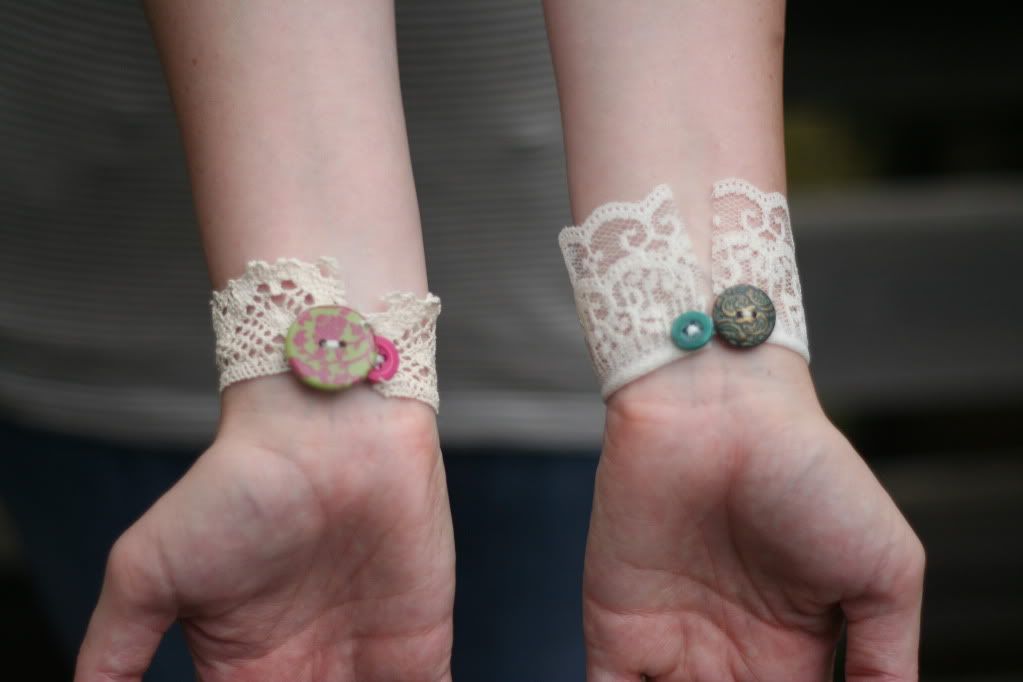
Today, I'd love to show you how I made these cute, kinda Anthro-ish lace cuff bracelets!
Let's get started!
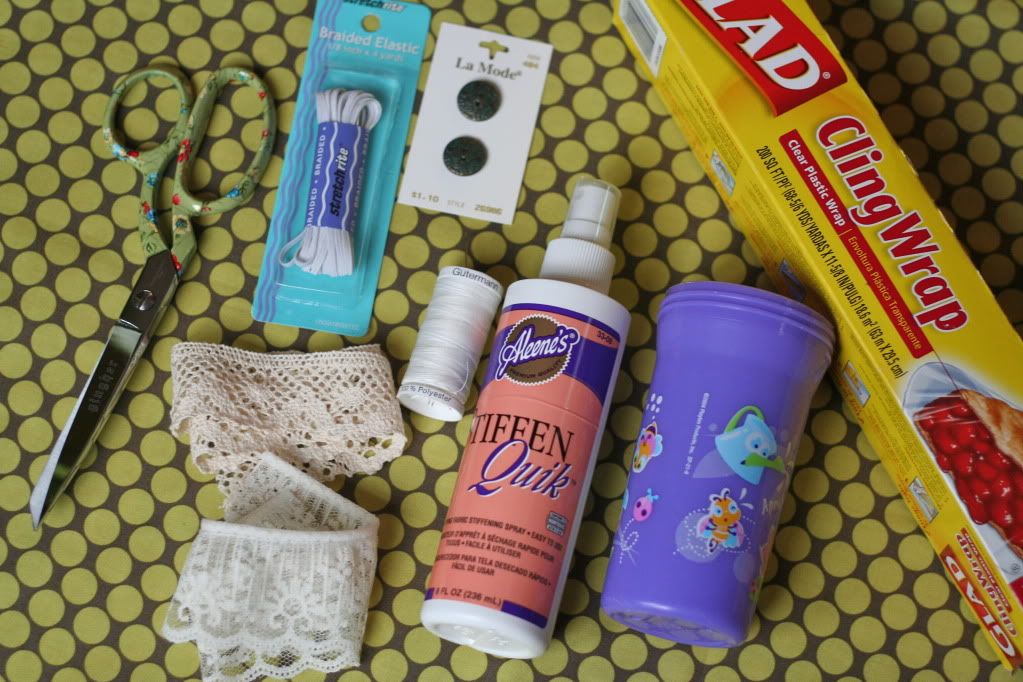
Materials:
-one or more piece(s) of lace or crochet-look lace (you don't need much, only enough to wrap around your wrist)
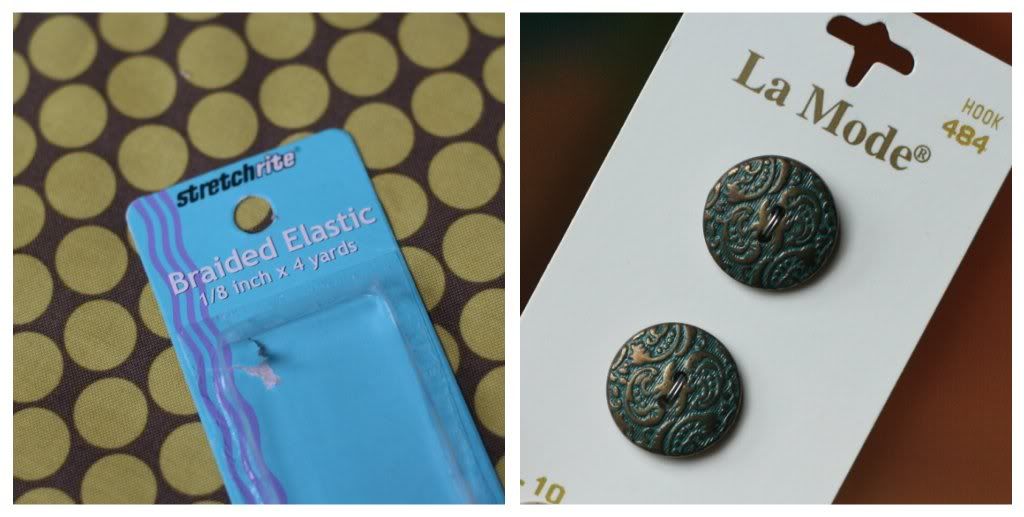
-1/8' braided elastic
-buttons
-plastic wrap
-cup or other small cylinder
-fabric stiffener
-scissors
-needle & thread (coordinating color with your buttons, if desired)
-optional- Fray Check (even though I didn't use it, and if you use enough fabric stiffener you definitely won't need it)
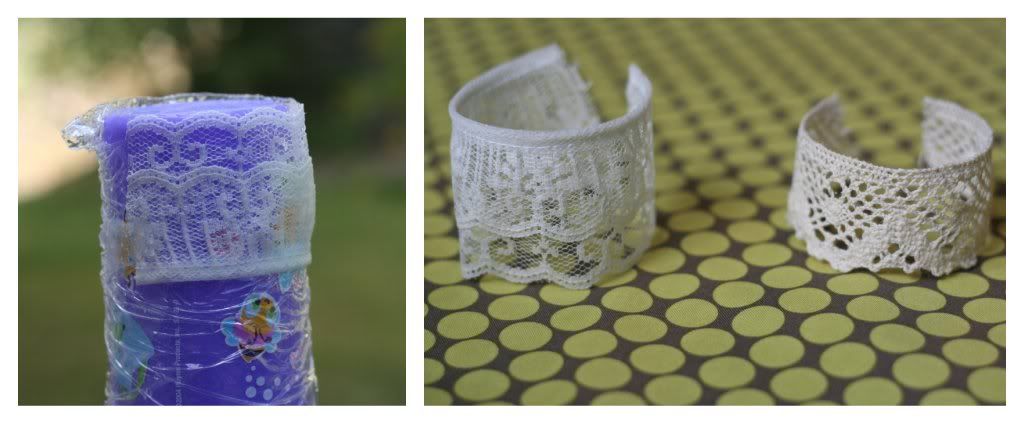
1. Wrap the lace around your wrist and cut to desired length. I taped the lace on my wrist to see if I liked the length. I ended up using about 6" for my wrist, but I've been told that my wrists are kind of small. Wrap the cup (can you tell I have a 2 year old?!) in plastic wrap.
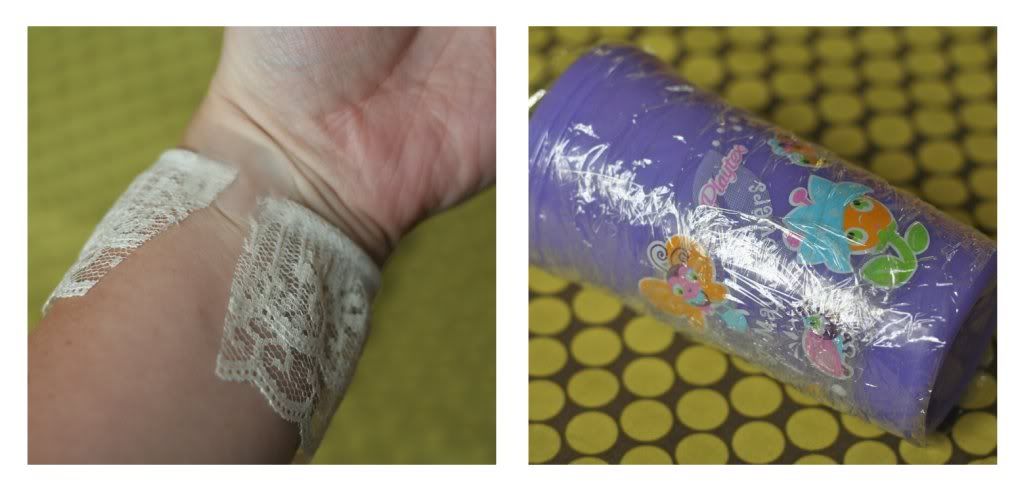
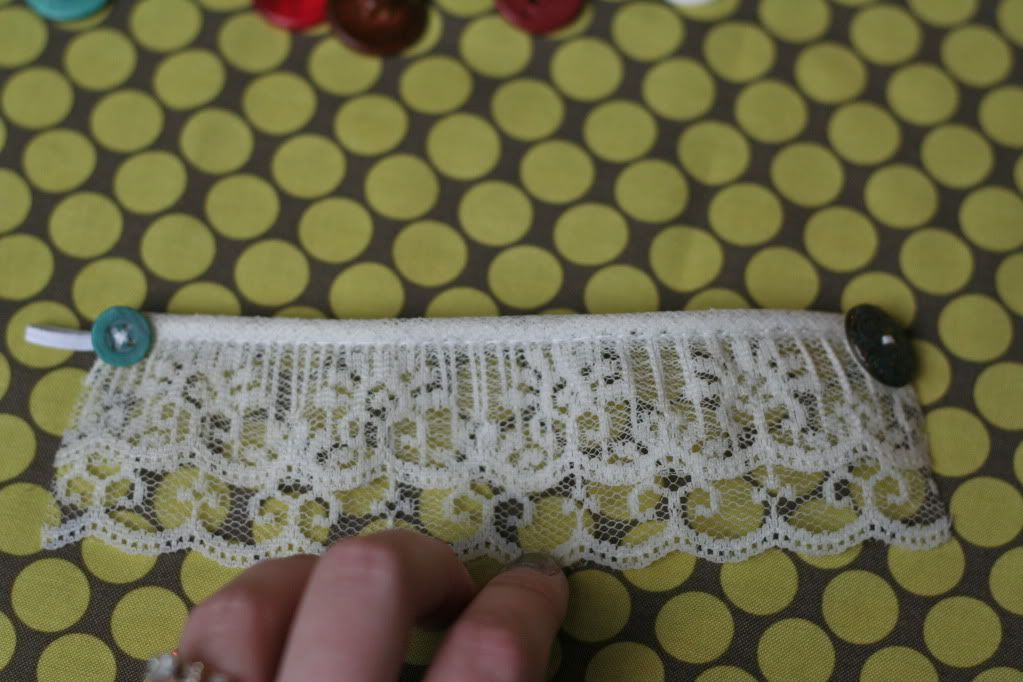
2. Wrap the lace around the cup and tape in place.

3. Arm yourself with the trusty miracle worker, A.K.A. the fabric stiffener.
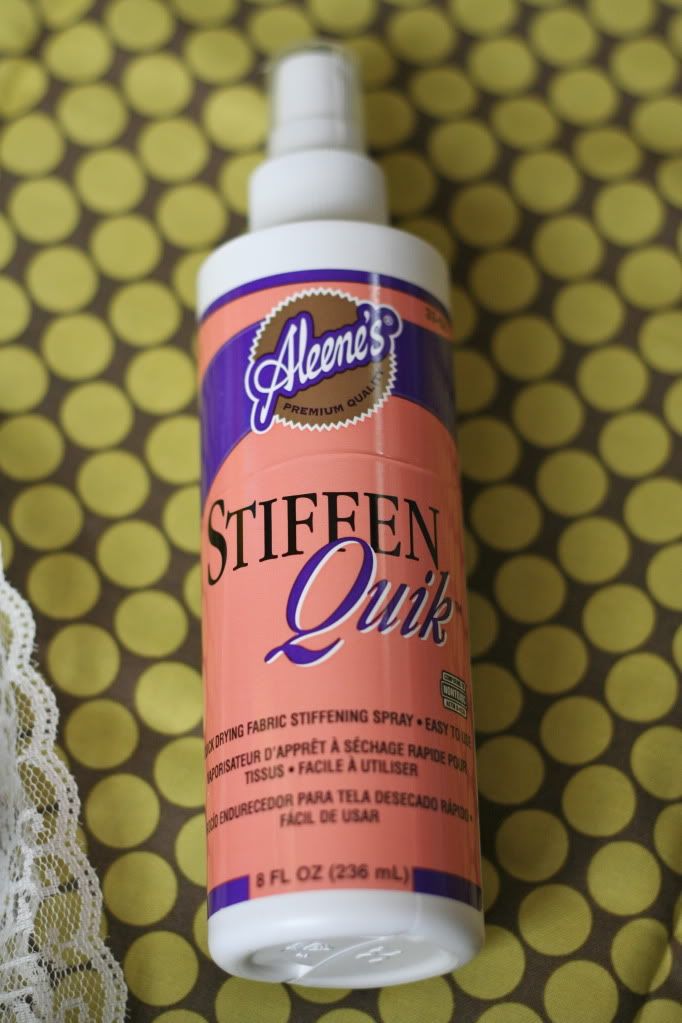
4. Spray the heck out of that sucker! I soaked the lace with the fabric stiffener (I did this step out on my deck; it might be a good idea to do this step outside) and came back a few times to re-spray.

5. Let the lace sit at least overnight or until completely dry. Your lace piece(s) should now look like this. If you so desire, run a thin line of Fray Check along the cut sides of the lace pieces. However, I didn't do this and I'm pretty sure you'll be safe if you just use a ton of fabric stiffener.
6. Now it's time for buttons and elastic. Aren't those buttons pretty? I thought they looked very vintage-y and for $1.10 for two, I was sold.
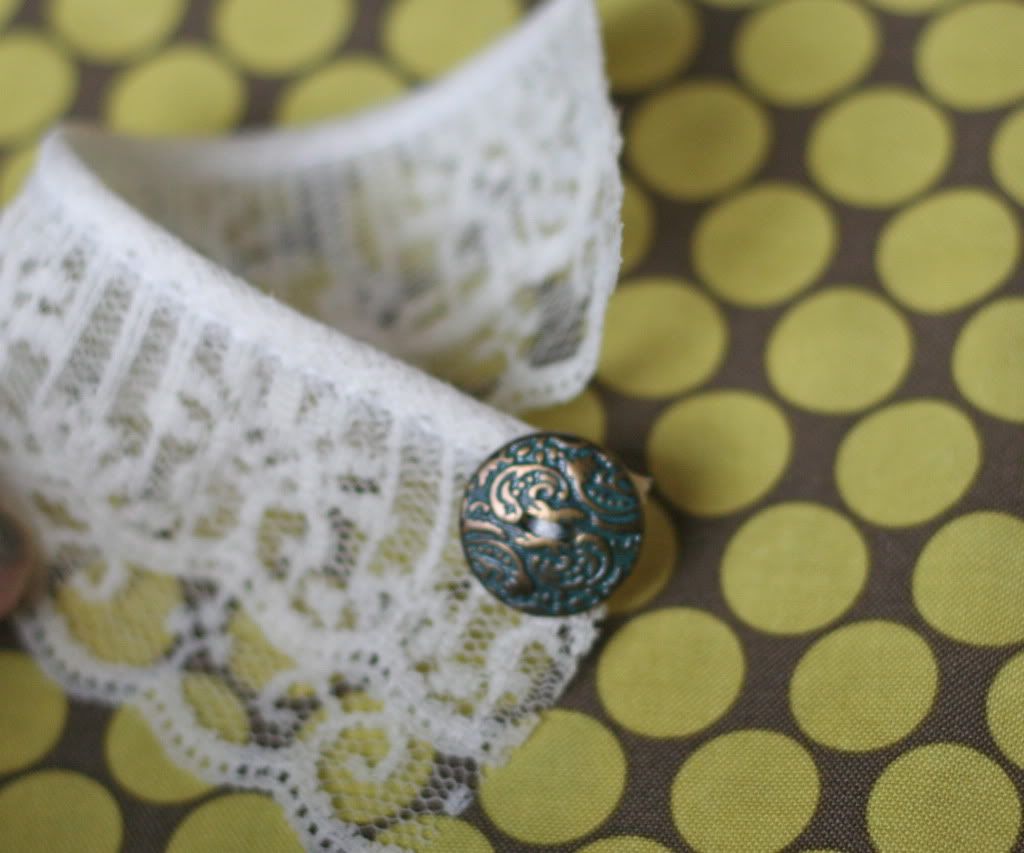
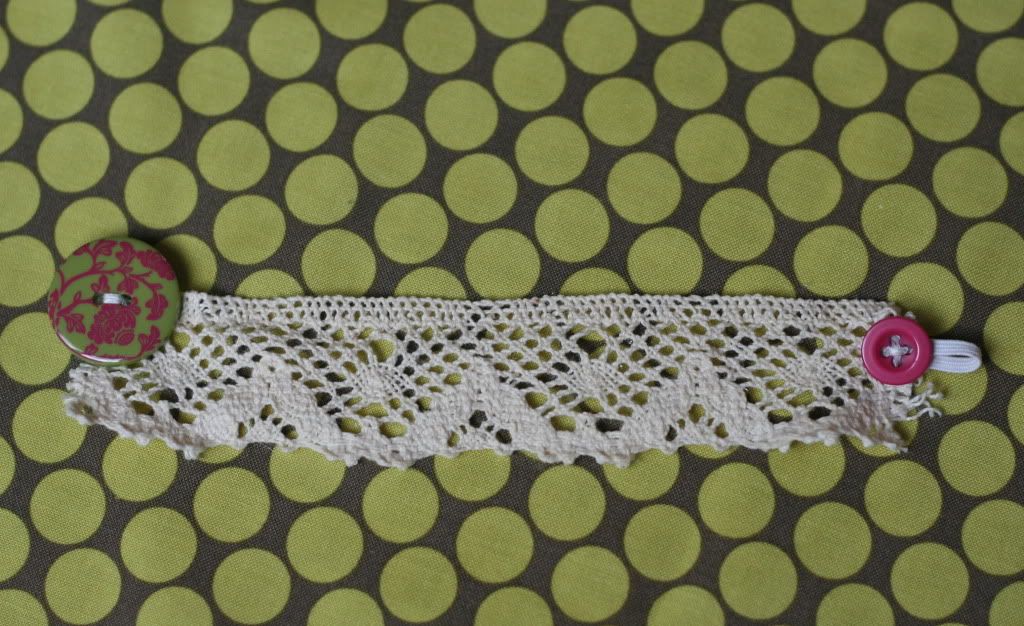
7. Stitch one button onto the end of the lace, making sure the button is sewn VERY securely to the lace. See how coordinating thread might have been a good choice here? Oh well.
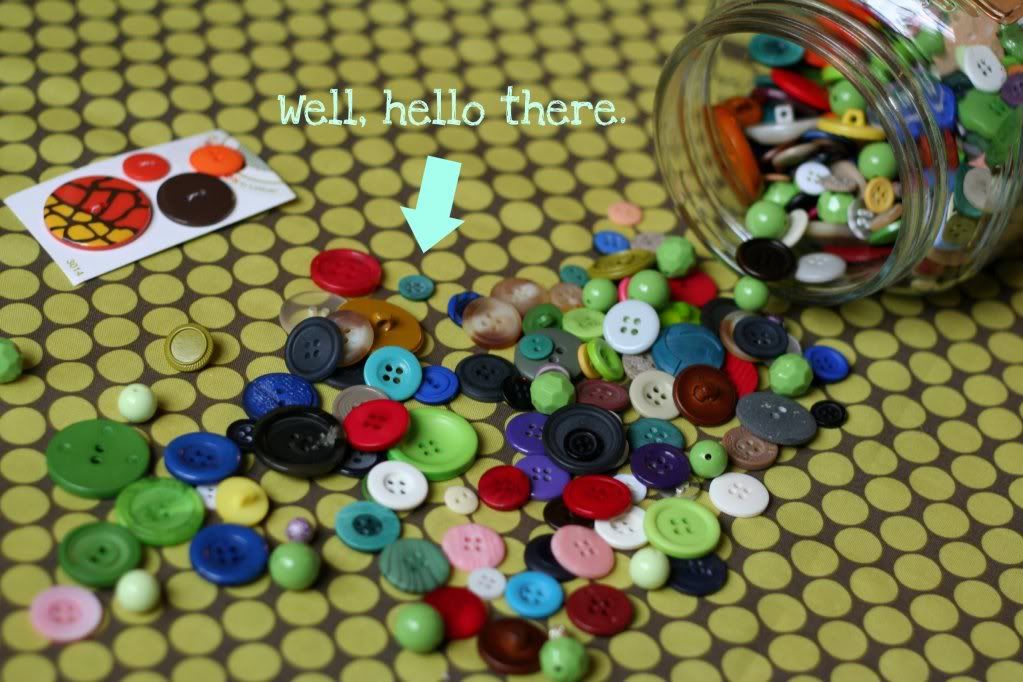
8. Now for a coordinating button! Ahhh buttons. Here's my collection. I love

Found the winner!
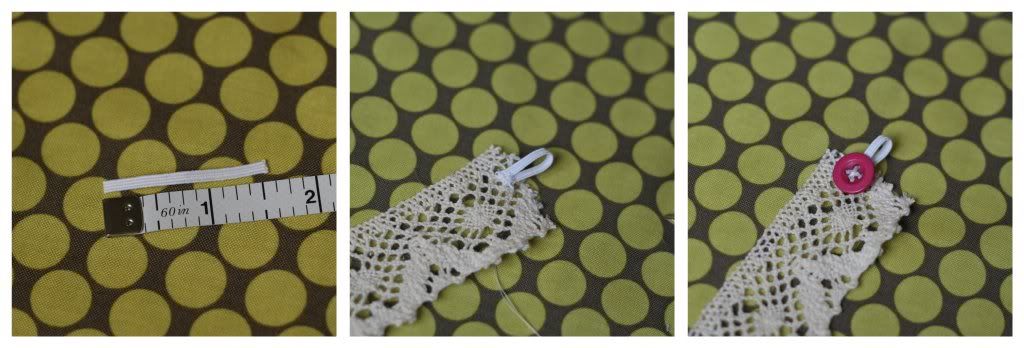
9. Attach a strip of elastic measuring about 1 1/2" to the other cut end of the lace and secure the coordinating button on top of it to conceal the raw elastic edges. I tend to get a little over-zealous in carrying out my plans (which I make up as I go along) so sometimes I forget to take pictures of crucial steps. This was one of those times. But fear not, I made another lace cuff and I remembered the second time. :)

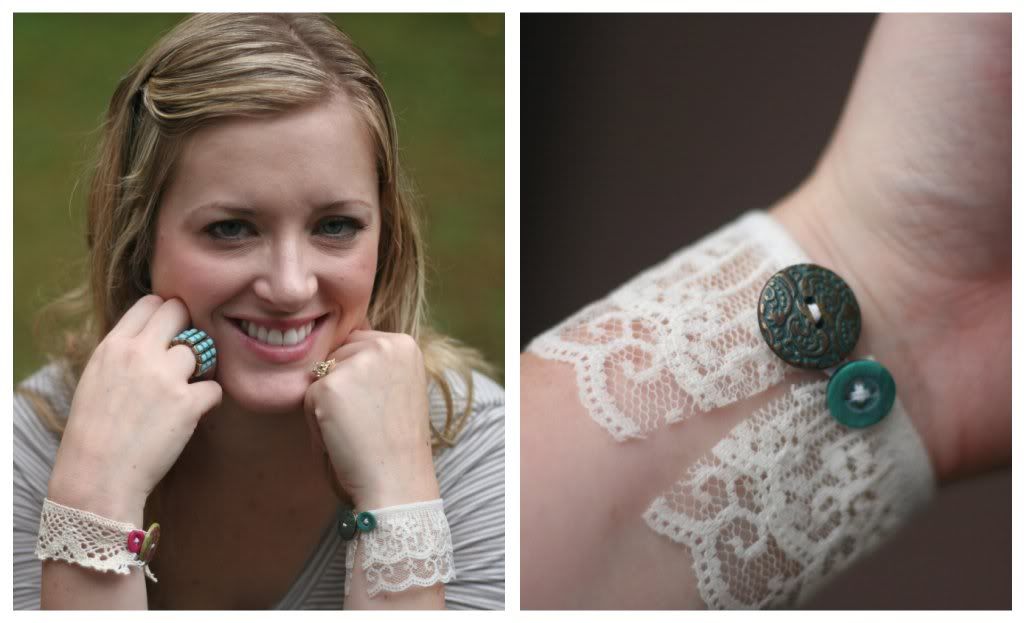
Here's the second bracelet:

Cute and easy, right?
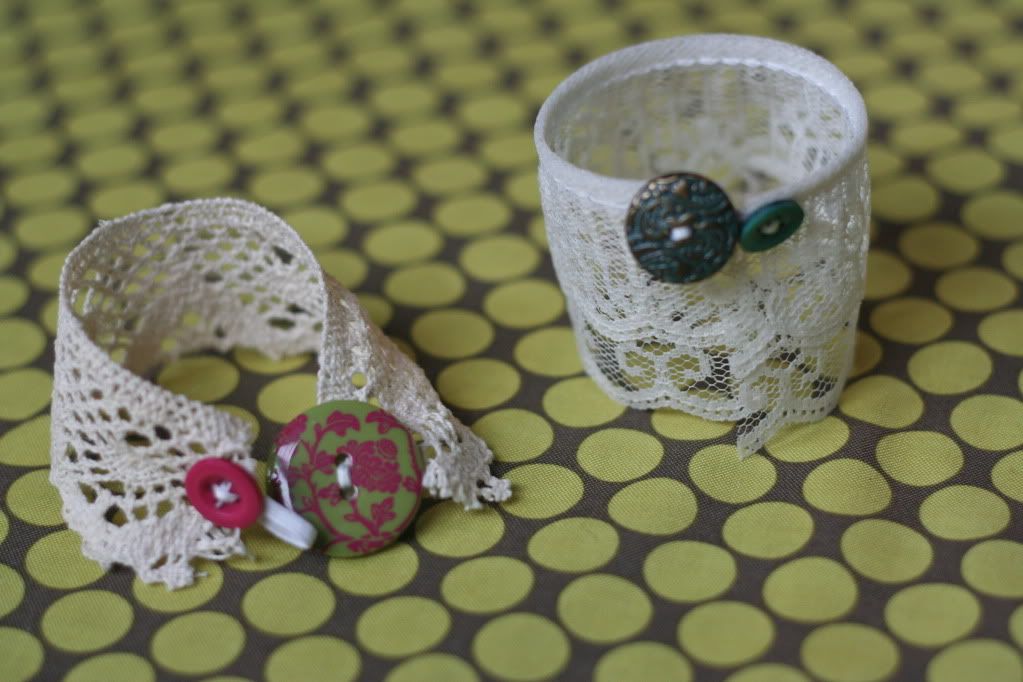

I am in love with these lace cuffs! I wore one a few weeks ago with a simple outfit and I felt like the bracelet just gave my look a little something extra and special. And extra special. :) Enjoy!
Linking up at I heart naptime, six sister's stuff, today's creative blog, kojo designs, and tatertots and jello
You are so crafty! Love these!
ReplyDeleteSuch a great tutorial! Those are lovely and very simple. I have really been liking lace lately, too.
ReplyDeleteI'd love to make these sometime soon...I have lace but no fabric stiffener, so maybe I will make without it? and I love your button collection.
ReplyDelete~Simi
These are so cute! Great tutorial!
ReplyDeleteI love this DIY!! Thanks for sharing
ReplyDeleteHave You Entered My Giveaway
This is adorable! My daughter would love these...gonna have to make her some. Would love it if you would link this up to our Rockin' link party going on now at RoCa and Company. Here is the link: http://rocaandcompany.blogspot.com/2011/10/you-rock-5.html. Come and show off what you got. Hope to see you there...
ReplyDeleteRemember...YOU ROCK!!
Carmen @ RoCa and Company
www.rocaandcompany.blogspot.com